How to Replace HP LaserJet Toner Cartridges
Step-by-Step Guide: Replacing HP Toner Cartridges
Familiarising yourself with the inner workings of your HP LaserJet printer, particularly the process of replacing the toner cartridge, not only proves to be a useful skill but also extends the life and efficiency of your printer. Renowned for their superior quality and user-friendliness, HP toner cartridges are highly regarded. If the idea of replacing your toner cartridge seems daunting, fear not. This guide is here to simplify the process, offering step-by-step instructions on how to effortlessly change the toner cartridge in your HP printer.
Step-by-Step Guide: Replacing HP Toner Cartridges
Before we delve into the steps, it’s crucial to understand when to replace the toner cartridge. Look out for the following messages:
For HP LaserJet Pro MFP M26a printers: An E0 message appears, and the Attention light blinks on the printer control panel.
For HP LaserJet Pro MFP models such as M26nw, M125a, M125nw, M125r, M125ra, M125rnw, M126a, M126nw, M127fn, M127fs, M127fw, M128fn, M128fp, M128fw: A “Cartridge is Low” or “Cartridge is Very Low” message is displayed on the printer control panel.
This guide applies to most HP LaserJet printers, but certain models may require additional steps. To replace the toner cartridge, follow these steps:
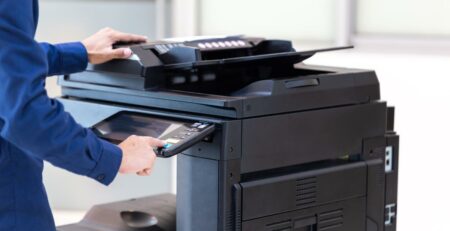
Step 1: Lift the Scanner Assembly
Gently raise the scanner assembly.
Step 2: Open the Top Cover
Lift the top cover to access the toner cartridge.
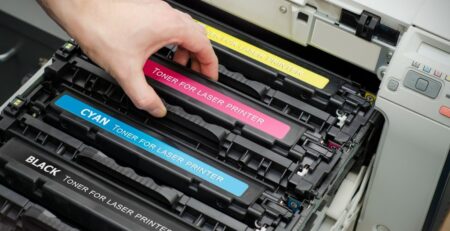
Step 3: Remove the Old Toner Cartridge
Carefully take out the old toner cartridge.
Step 4: Unpack the New Toner Cartridge
Remove the new toner cartridge from its packaging.
Step 5: Dispose of the Used Toner Cartridge
Place the used toner cartridge in a recycling bag.
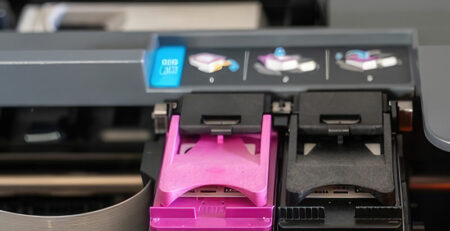
Step 6: Prepare the New Toner Cartridge
Find the orange clip on the new toner cartridge and remove it.
Gently rock the toner cartridge back and forth to distribute the toner. Avoid touching the shutter or roller surface.
Bend the tab on the left side of the toner cartridge until it breaks loose, removing all the sealing tape.
Place the tab and tape in the toner cartridge box for recycling.
Step 7: Install the New Toner Cartridge
Align the new toner cartridge with the tracks inside the printer and firmly push it into place.
Step 8: Close the Top Cover
Lower the top cover to secure the toner cartridge.
Step 9: Lower the Scanner Assembly
Carefully lower the scanner assembly.
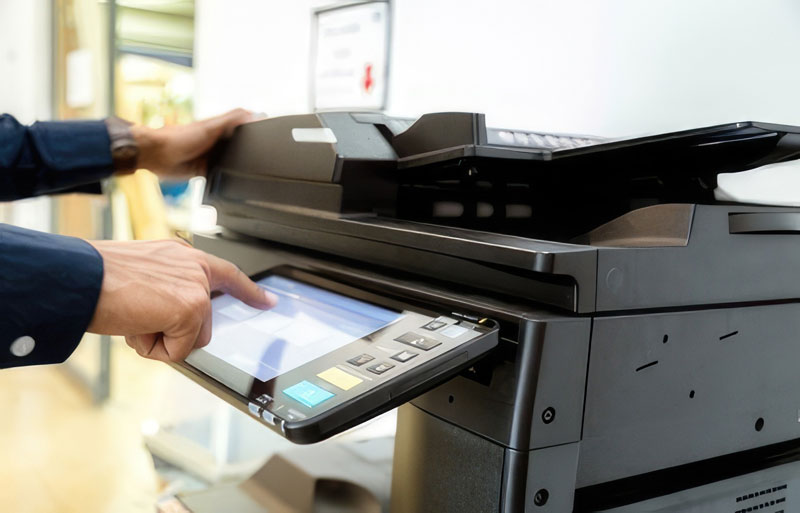
Step 10: Verifying Your Work
The final step in this process is to ensure your new cartridge is correctly installed and functioning. Print a test page, and if it emerges crisp and clear, congratulations, you’ve mastered the art of replacing an HP LaserJet toner cartridge.
Ensuring Uninterrupted Printing Excellence
By becoming proficient in toner cartridge replacement for your HP printer, you guarantee its smooth operation and the continual production of top-quality documents. Keep in mind that the frequency of cartridge replacement depends on your printing volume and content. Having a spare HP toner cartridge at hand can help you avoid unexpected printing pauses.
Trust Dottyink for top-notch quality, unparalleled service, and expert advice on all your toner cartridge needs. With a comprehensive product range that includes a vast array of HP toner cartridges, we’re confident that we can meet all your printing requirements. Experience seamless printing with Dottyink today.