How to Disable HP Cartridge Protection
Understanding HP Cartridge Protection
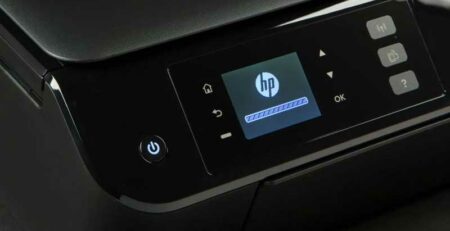
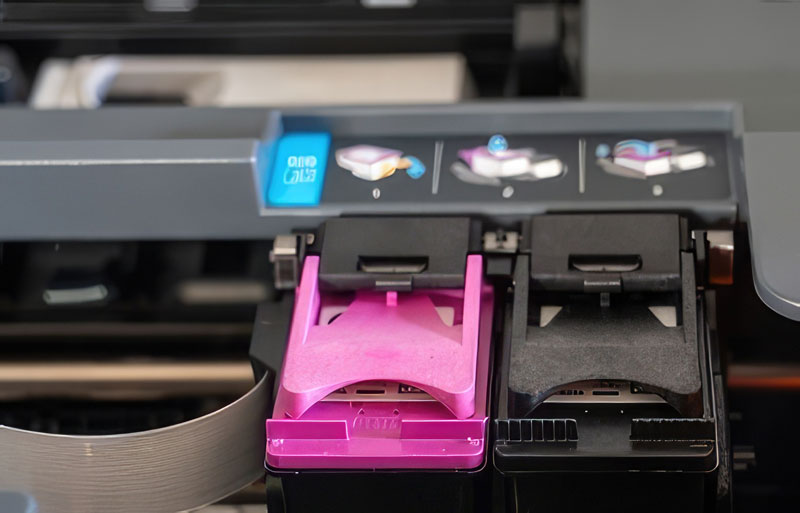
If your HP printer is displaying error messages like “HP cartridges locked” or anything related to HP cartridge protection, you may have encountered issues with using compatible or remanufactured ink. Whether you’re dealing with a new HP instant ink printer or simply want the freedom to choose your inks, we’ve got you covered. This guide will show you how to disable HP Cartridge Protection and regain control of your printing experience.
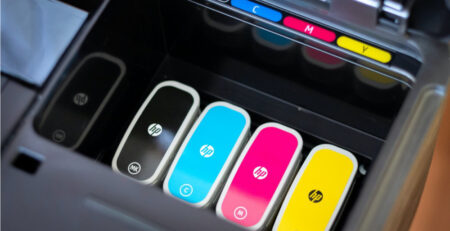
HP Cartridge Protection, also known as “ink cartridges locked to another printer,” occurs when either non-original HP ink cartridges are detected, or your printer has the cartridge protection setting enabled. It can also happen if the cartridges you’re trying to use were previously used in a different printer with cartridge protection enabled. HP instant ink printers may lock to the service, restricting your choices.
HP introduced this feature to combat counterfeit inks, safeguarding both customers and their business interests. While this helps ensure genuine HP cartridges, it can limit the use of compatible or remanufactured ones. Thankfully, cartridge protection is usually disabled by default.
Is It Possible to Disable HP Cartridge Protection
The primary purpose of HP Cartridge Protection is to prevent printer users from employing non-HP cartridges. However, once HP Cartridge Protection is activated, your printer won’t be compatible with third-party toner cartridges unless you turn off this feature. Here are some key points:
- Printer users have the option to enable or disable HP Cartridge Protection at any time.
- Bypassing HP Cartridge Protection has no effect on your printer’s functions and performance.
- Disabling HP Cartridge Protection will not void your printer’s warranty.
- You have the right to choose the ink cartridge you prefer, whether it’s a generic ink cartridge or an original HP ink cartridge.
- Disabling HP Cartridge Protection ensures compatibility with compatible ink cartridges.
Steps to Disabling HP Cartridge Protection
To disable HP Cartridge Protection via the Printer Control Panel, follow these steps, tailored for both touch screen and non-touch screen printers, as well as instructions for disabling it through a computer connection.
Disabling via the Printer Control Panel
- a. For Touch Screen Printers:
- Access the “Setup” menu.
- Navigate to “System Setup” > “Supply Settings.”
- Select “Cartridge Policy” > “OFF.”
- Also, disable “Cartridge Protection.”
- b. For Printers Without a Touch Screen:
- Prepare the printer by tapping the “Back” icon.
- Access the “Main Menu” > “Setup.”
- Navigate to “Supply Settings” and select it.
- Find “Cartridge Policy” and turn it “Off.”
Disabling via Computer Connection
- For non-internet connected printers, use the Control Panel’s devices and printers section to locate your HP printer. Find the cartridge protection tab in the HP toolbox and disable it.
- For internet-connected printers, find your printer’s IP address in the settings menu. Type this address into a browser search bar to access your printer configuration page. Disable cartridge protection in the settings.
Please keep in mind that printer updates may re-enable cartridge protection, so consider turning off updates in the web services section if necessary.
Don’t let HP Cartridge Protection restrict your ink choices. Take control of your printer by disabling cartridge protection and enjoy a hassle-free printing experience with the cartridges you prefer. For specific printer models or additional assistance, feel free to contact us.